Arduino Uno
The 5 V board - where the pull-up stops being optional
← Casio calculator data logger – project overview
The Arduino Uno is the board most schools already own for senior classes. Using these as cross-curricula sensor units requires adding a display, a keypad, SD module to save data (the R3 is limited to about 250 readings). But what if you could build something greater than the sum of the parts? And cheaper?
Greatly extend the capabilities of a calculator many students already own. You can even upcycle old Casio FX-9750 G Plus calculators - and transform both the Arduino and Casio calculator into a general purpose tool for physical education, health, science, mathematics, Internet-of-things (IoT), and robotics / instrumentation. Reduce electronic waste at the same time!
The forgotten feature in the 2.5 mm port of a Casio FX-9750 and FX-9860 is now available on my GitHub, open-source and free. It takes the burden off the teacher, because the learners become the experts - constructing, coding and repairing their own smart data logger that also acts as a remote control, a PIN pad, and automation control interface.
This is an extension of my 2008 research, which carried classroom validation and student feedback, now with a modern facelift using all modern microcontrollers, including the Arduino R3. Learners can record heart rate, temperature, sound level, and other readings using sensors they build themselves, for cents or a few dollars.
The calculator needs no modification or firmware change. It does not need to know what is on the other end of the cross-over cable.
Before you wire anything
Check the wiring of every conductor with a multimeter first. The wire colours inside a bought SB-62 cable may not match the colours in any diagram, including this one. Check the tip, ring and sleeve against your own cable before connecting a calculator.
What you need
- An Arduino Uno R3 or compatible.
- A calculator: FX-9750G Plus or FX-9750GIII.
- The four interface components below. On a 5 V board the Schottky never conducts, so you could leave it out of a cable that will only ever be used with an Uno – but fitting it costs nothing and keeps one cable usable on every board.
- The Arduino IDE.
The interface circuit
The Uno is the only platform here that must run at 5 V – a PICAXE will take 3.3 V or 5 V, and the ESP and micro:bit boards are 3.3 V parts. That changes two things: the pull-up has real work to do, and the diode stops being a convenience and becomes protection.
Four components, and the same circuit on every platform. It serves both calculator generations and both board supply voltages.
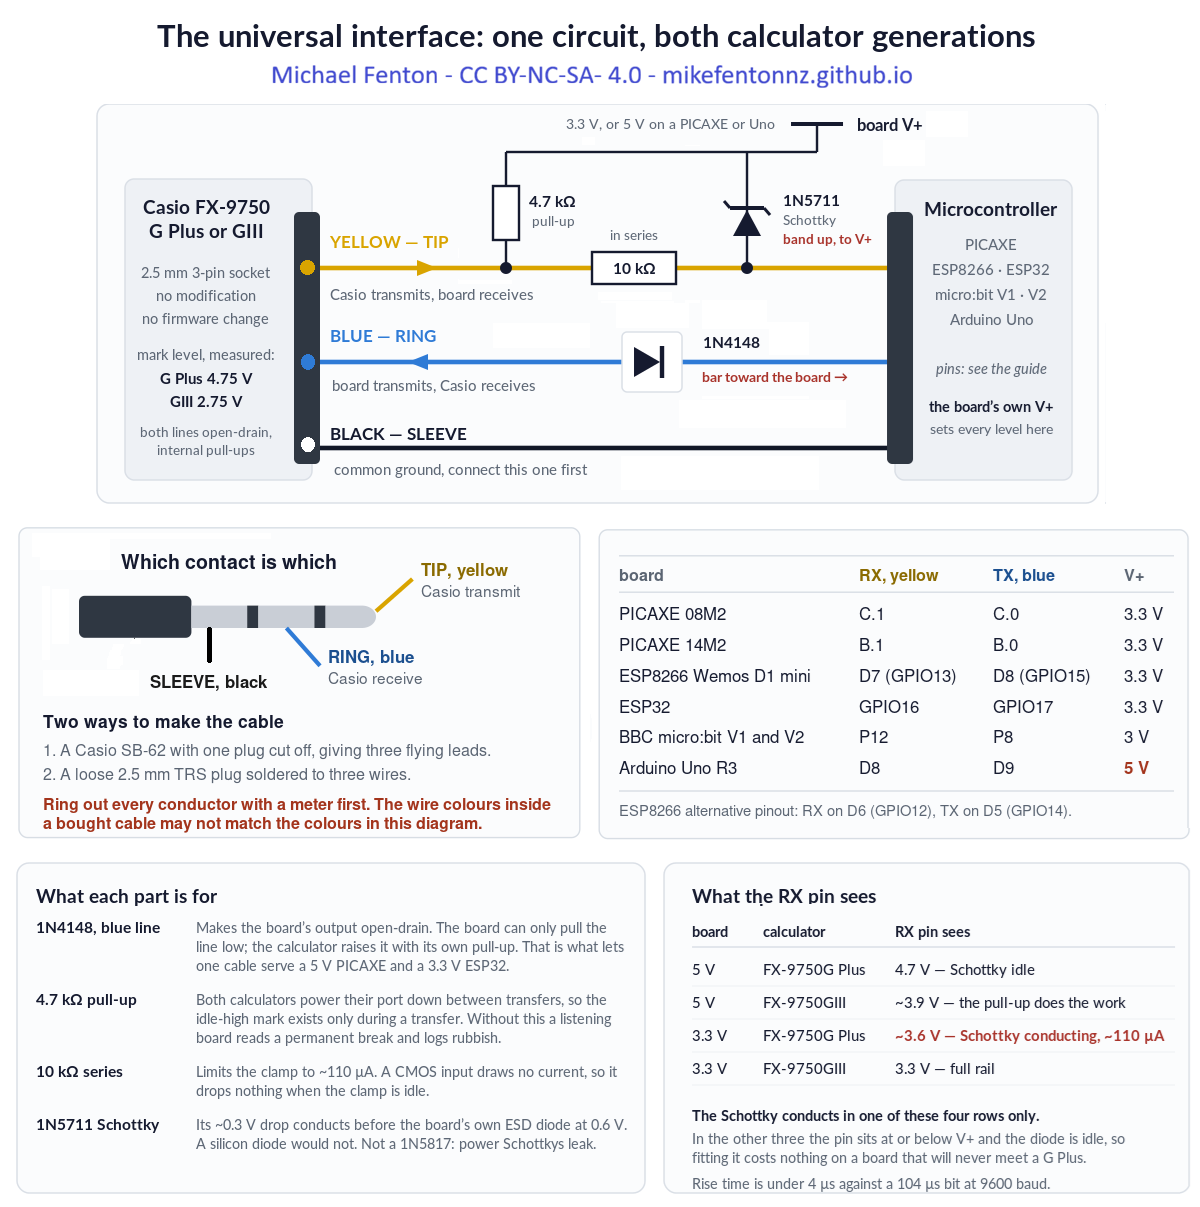
- 1N4148 in the blue wire, band toward the board. This makes the board's output open-drain: it can only pull the line low, and the calculator raises it with its own internal pull-up. That is what lets one cable serve a 5 V board and a 3.3 V one.
- 4.7 kΩ pull-up from the yellow wire to the board's own supply. Both calculators power their port down between transfers, so a board that is listening reads a permanent break without it.
- 10 kΩ in series with the receive pin, and a 1N5711 Schottky from that pin to the board's supply. These matter only when a 3.3 V board meets an FX-9750G Plus, whose transmit line sits at 4.75 V. On every other combination the Schottky is idle and costs nothing.
Pins
| Signal | Pin | Note |
|---|---|---|
| From Casio TX – yellow, tip | D8 | 4.7 kΩ pull-up to +5 V – required |
| To Casio RX – blue, ring, via the 1N4148 | D9 | band toward the board |
| Ground – black, sleeve | GND | connect this one first |
| Sensor 1 / 2 | A0 / A1 | analogue |
D8 and D9 are chosen, not arbitrary. SoftwareSerial receive needs a pin-change interrupt. On the Uno, D8–D13 are all PCINT0; D2–D7 are PCINT2 and also work; A0–A5 are PCINT1. Move the receive pin to somewhere without a pin-change interrupt and reception stops silently – no error, just nothing.
Why the pull-up is mandatory here and nowhere else
An FX-9750GIII holds its transmit line at 2.75 V. An Uno needs at least 3.0 V to read a logic high. A bare Uno therefore cannot read a GIII at all – not intermittently, not marginally, simply not. The 4.7 kΩ pull-up to +5 V lifts the line to about 3.9 V and clears the threshold. On a 3.3 V board the same 2.75 V clears the input threshold and the pull-up is doing a different, smaller job – holding the line up between transfers rather than lifting it past a threshold.
The diode earns its place here too. An Uno output pin swings to 5 V and a GIII input is not 5 V tolerant. The 1N4148 blocks that direction entirely, so the board can pull the line low and can never drive it high.
The code
Casio-ArduinoUno-NSN.ino, using SoftwareSerial on D8 and D9 so the USB serial monitor stays available for tracing.
#define CASIO_RX_PIN    8
#define CASIO_TX_PIN    9
#define CASIO_BYTE_GAP_US 250   // idle between bytes - see below
#define TURNAROUND_MS 5
Three requirements apply to every platform. They are why this works at all, and each of them was found by a link that would not run without it.
- Idle between bytes. An FX-9750G Plus needs roughly one bit period – about 104 µs at 9600 baud – of idle line between one byte and the next. A second stop bit supplies it; so does a deliberate delay. An FX-9750GIII does not care.
- A turnaround delay. About 5 ms before every transmission, so the calculator can switch its port from sending to listening. Without it the calculator answers
0x22and never sends its request packet. - Build the packet, then send it. Nothing computed part-way through a transmission – a checksum between the last two bytes will insert a pause a G Plus refuses.
What goes wrong
SoftwareSerial sends 8N1 and cannot be told otherwise
There is no second stop bit available on this platform, so the Uno build inserts the idle itself, with a deliberate gap after each byte. The threshold was measured on this board by bisection, changing nothing but the gap:
| Gap between bytes | Result |
|---|---|
| 1000 µs | logs correctly |
| 100 µs | logs correctly – just above one bit period |
| 75 µs | the calculator stops with BREAK |
| 50 µs or less | Com ERROR |
One bit period at 9600 baud is 104 µs, and the boundary sits within a few tens of microseconds of it. The shipped value is 250 µs, which is comfortable margin for nothing you will ever notice: a fifty-byte packet grows by about twelve milliseconds.
Other things worth knowing
- The Arduino IDE compiles every
.inoin a folder together. Keep one sketch per folder, or a second copy will collide with the first and report a redefinition error that has nothing to do with your edit. - Readings are centred (
raw − 512) so an unconnected input returns a clearly wrong value rather than a plausible one. - The calculator must stay connected for the whole run.
Code, manual and the other platforms
- Repository, all platforms: github.com/MikeFentonNZ/Casio-calculator-datalogger-picaxe-esp-microbit-arduino
- Technical manual – wiring, the full
Receive(sequence, every packet and checksum: https://doi.org/10.5281/zenodo.22095227 - Project overview: Casio calculator data logger – the $10 upgrade
WARNING - TAKE CARE!
NEVER connect mains electricity (240 V / 110 V) to the calculator, to the microcontroller, or to any sensor wiring.
NEVER use mains-connected equipment near water.
Keep every sensor signal within 0 V to 3.3 V. The ESP32 and ESP8266 are not 5 V tolerant. A bare ESP8266 A0 pin reads 0 to 1.0 V only; 3.3 V will destroy it. However, popular development boards like NodeMCU and Wemos D1 Mini include an onboard resistor voltage divider, which safely extends their external board tolerance to 0 to 3.2V–3.3V
Special Warning: DO NOT let students test boiling water.
There is no need to calibrate temperature sensors using boiling water. Where in the real world would a student expect to record that temperature? If you are investigating cooling curves, YOU should safely get sensor readings at 100 °C and PROVIDE THIS to learners.
READ THE DISCLAIMER in the Technical manual - No responsibility is taken for how you use this information! This is a research project provided open-source to educators.
Use it
Always remind learners that scientists and engineers work carefully and safely, no matter what they see in movies or TV.
Sensor Lab: With a breakout adapter, try inventing your own ultra-low-cost sensors. Anything that changes its electrical resistance due to one environmental factor is a good start. You may need a 10k pull-up resistor - learn about these and what they do. Alternatively, try low cost NTC temperature thermistors, light dependent resistors (LDR). Advanced learners can try DS18B20 temperature sensors, HC-SR04 range-finders, and DHT-11 modules. Build a colorimeter to detect light changes with a LDR and an LED as a light source for chemistry investigations. You do not need a LED to log the change in glow stick brightness over time - does temperature affect this?
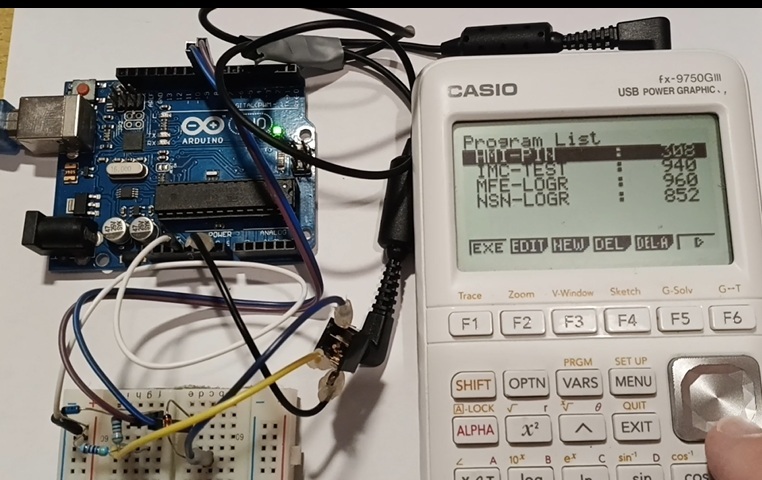
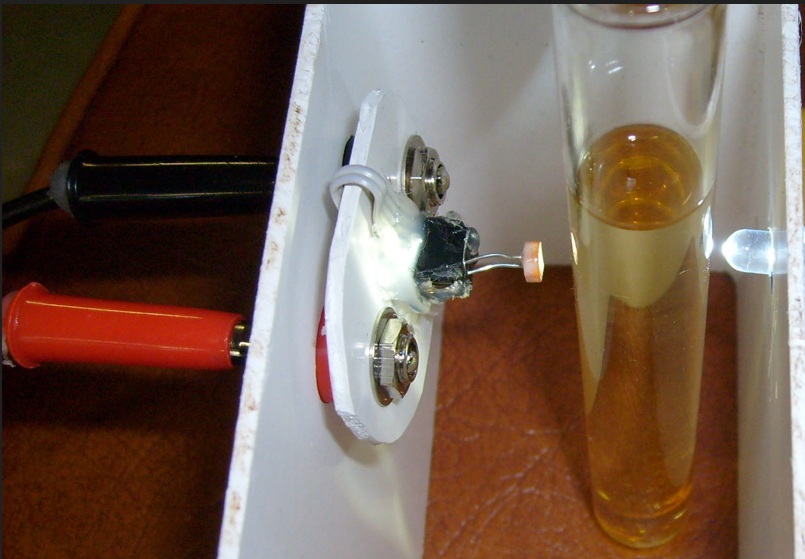
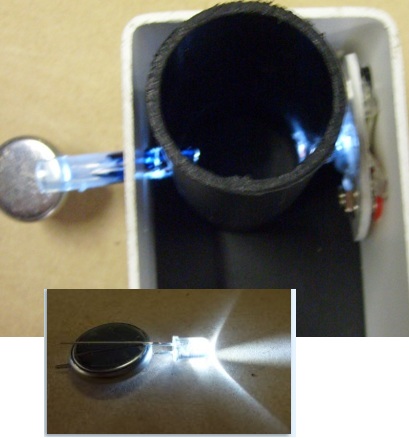
NOTE: Use a current limiting resistor on the LED!
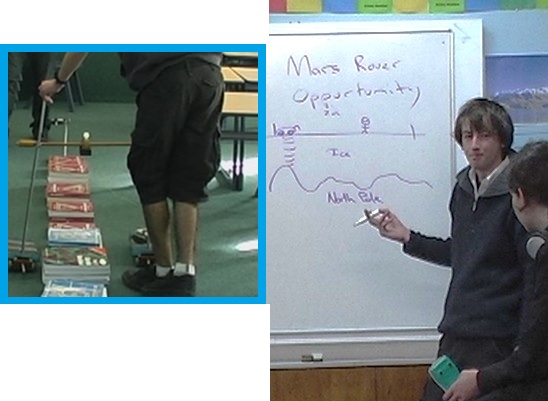
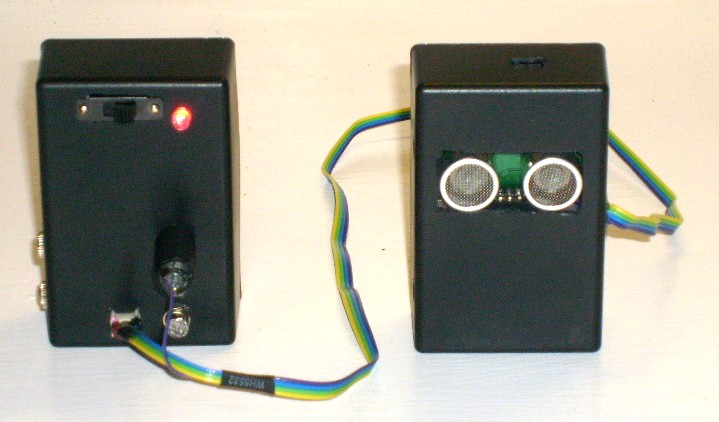
Mars surface surveyor: Attach a low-cost ultrasonic rangefinder module (Aliexpress) and map a simulated Martian surface from the air (see the 2008 E-Learning report https://doi.org/10.5281/zenodo.19302276).
A renewed justification in a post AI-era.
When technology cost and availability is no longer a consideration, the use of simulated data for STEM learning is a decision that now requires justification, rather than being the default.
The original case for this work was equity: timed data logging for a few dollars instead of hundreds. There is now a second reason it matters. As generative AI is trained on a scientific literature increasingly polluted by fabricated paper mill studies (Richardson and Amaral, 2025, PNAS), simulated datasets can no longer be assumed to reflect physical reality. Subverting the Casio serial protocol so learners can gather their own first-hand measurements gives them data whose provenance is transparent and which can still surprise. The exploit is no longer only about cost; it is about preserving access to real, trustworthy observation.
Other platform build guides: PICAXE · BBC micro:bit · ESP8266 · ESP32 · Casio calculator Hasbro Smart R2D2 DroidX app